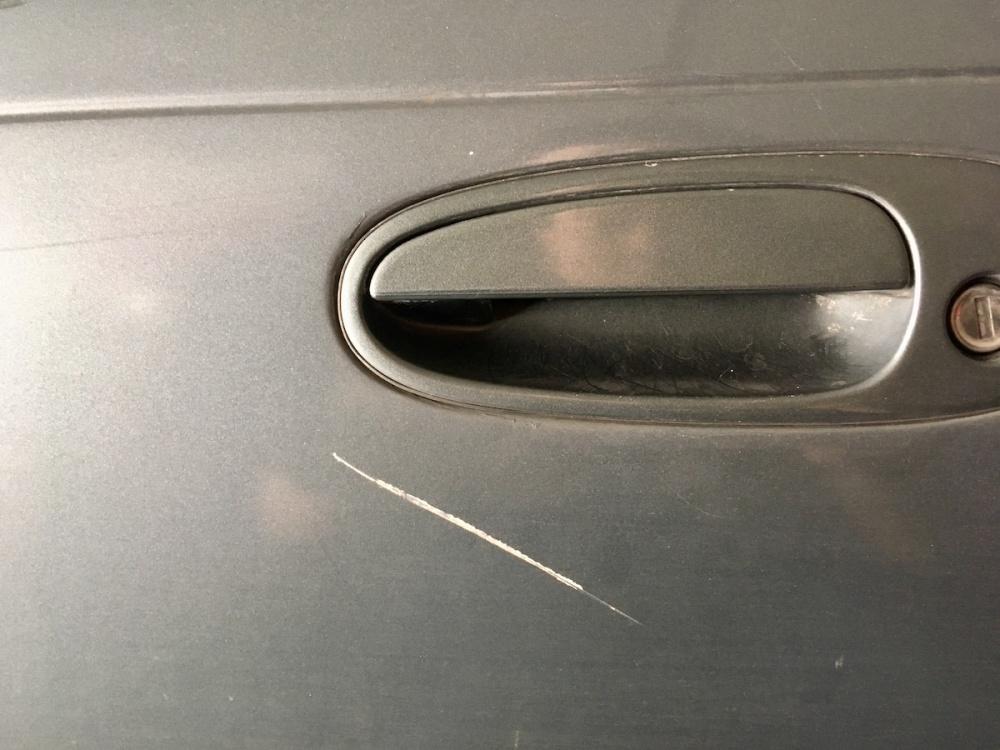
If you’re in search of how to fix deep scratches on a car, we’re obviously inclined to recommend you visit a reputable autobody repair shop to get your fix. However, we know that going to an auto body repair shop might not always be feasible or seem worthwhile for a small scratch. Whatever your reason, if you’re in the mood to DIY a fix, here are a few ways you can fix deep scratches on a car.
Clean the surrounding area
Before you attempt to fix the scratch, give it (and the surrounding area) a thorough wash and dry. Be gentle around the scratch itself so that you don’t aggravate the damage in any way. It’s important to clean the area so that you don’t get dirt or dust particles caught in the scratch or in the materials you use to fill the scratch.
Wash the area with soap intended for use on cars, as harsh soaps can strip your car’s protective coating, and pat the area dry with a chamois or microfiber towel. To make sure the area is super clean and prepped, you can also swab it with some rubbing alcohol to remove any remaining dirt or cleanser.
Use a scratch repair kit
Not surprisingly, there are a lot of products on the market that cater to those interested in fixing minor cosmetic issues on their car themselves. These kits typically, by the likes of brands such as 3M, contain everything you need to buff out or fill in a serious scratch. You can easily find them at your local auto supply store or online. Not all of them are created equal, however. If you need some help picking out a kit, ask a store employee for their recommendation.
Apply rubbing compound
Whether you’ve purchased a kit or just a compound, you’ll want to apply a small amount of the scratch remover to a buffing pad or microfiber cloth. This allows you to have better control of the product than if you were to apply it directly to the scratch. In general, it’s better to apply too little compound than too much, so go slowly. In some cases, your kit or the compound packaging will likely have some guidelines on how much to use.
Once you have some compound on your buffing pad or cloth, work it into the scratch using smooth, tight, fast circles. The compound is lightly abrasive, and by buffing it into the scratched area, it’s able to wear down the rough edges of the scratch to create a surface that is more uniform. (In a pinch, we’ve heard toothpaste will perform similarly, but we can’t say we would recommend it.) These compounds can remove paint if you buff too hard or too much, so watch the pad or cloth you’re using for signs of possible paint removal.
Continue to buff until most of the product has disappeared, then remove any excess with a cloth. Examine the scratch and repeat the buffing and polishing process if necessary. Buffing with the compound should be enough to erase most moderately deep scratches.
If you can’t completely remove the scratch with the buffing compound, you might still be able to ameliorate the scratch with some touch-up paint.
Cover it with touch-up paint
Touch up paint can do a lot to cover up scratches. Touch-up paint is available in colors to match almost any vehicle paint, and it comes in spray paint and paint pens or small bottles with attached brushes. The latter applicators are typically preferred over spray paint for scratches, as they allow the user to have more precise control over the paint application. Before using the paint on your scratch, test it on an inconspicuous area of your car to see how well the paint matches.
If your scratch is particularly deep and metal is exposed beneath the paint, you might want to use some touch-up primer before the touch-up paint.
Before using touch-up paint or primer, like with anything you paint, it’s important to prep the surface first. Make sure you remove the last of the buffing compound with another wash or a swab of rubbing alcohol. After prepping the scratch, you can go in with your touch-up primer or paint. After you’ve finished priming and painting, finish your work off with some touch-up clear coat and a wax to ensure it really shines like (almost) new.
If you don’t already have a lot of these materials on hand, and depending on the severity of the scratch (or scratches), you could easily be investing a decent amount of time and money into this DIY fix. While you might still save money doing the fix yourself, it’s not a bad idea to have an auto body shop give you a quick estimate on what it might cost to have the scratch professionally fixed. You might still want to fix it yourself, or you might find it’s worth it to have the scratch taken care of by a professional who specializes in auto body paint and auto body repair.

